A brand new thriller surrounding the Vex is ours to resolve in Future 2. Right here is find out how to full each step of the A Rising Refrain quest which is the principle Echoes quest in Future 2.
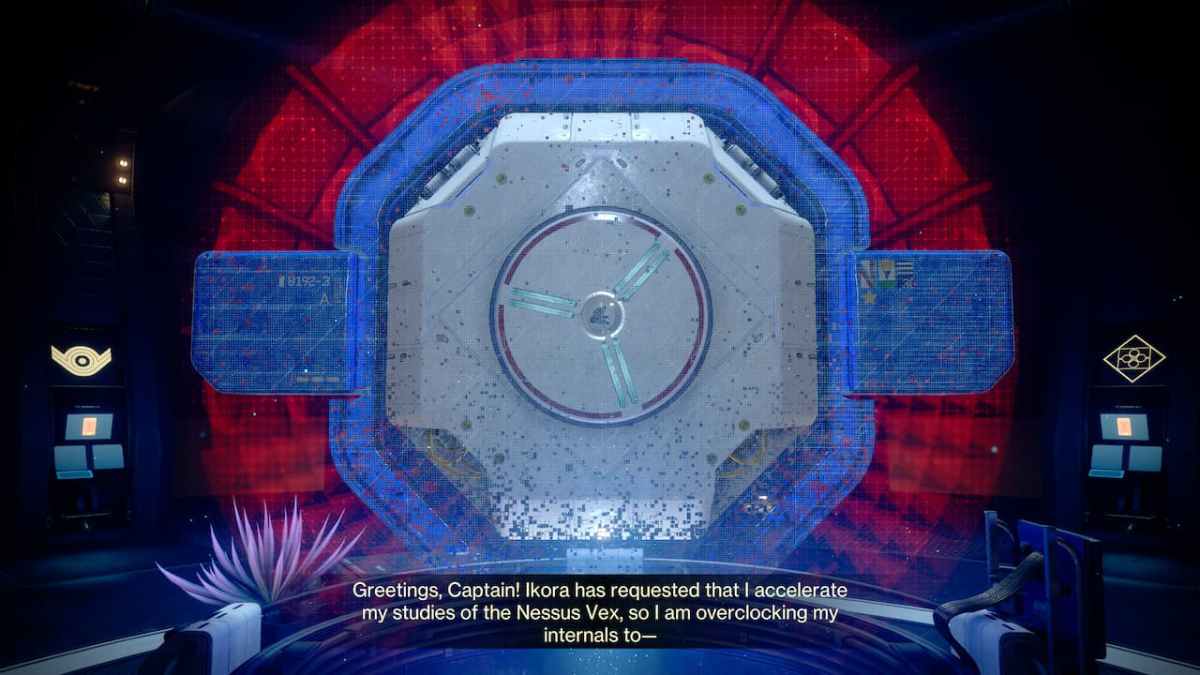
Week 1 – Step 1: Start your analysis with Failsafe within the H.E.L.M. in Future 2

The very first step in A Rising Refrain will in all probability be already completed provided that the entire quest unlocks after finishing A Acquainted Voice, the intro quest that introduces Nessus’s unusual Vex exercise and the Breach Executable mission. So, you might be just about completed with this step. Transferring on!
Step 2: Examine the areas Failsafe marked on Nessus in Future 2
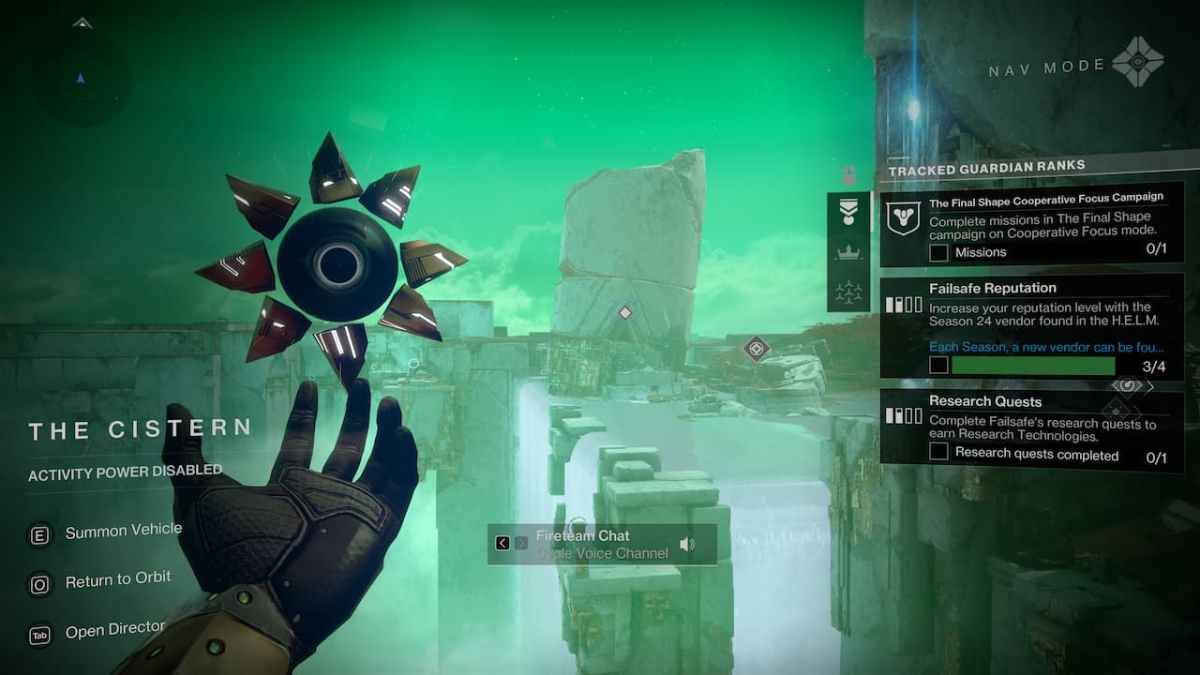
This would be the precise first on-the-field step for Guardians to finish. You’ll have to gather three completely different samples from Nessus that are named first, second, and third samples (Failsafe may be very sensible with naming apparently). So, let’s head out to Nessus and journey to The Cistern touchdown zone.
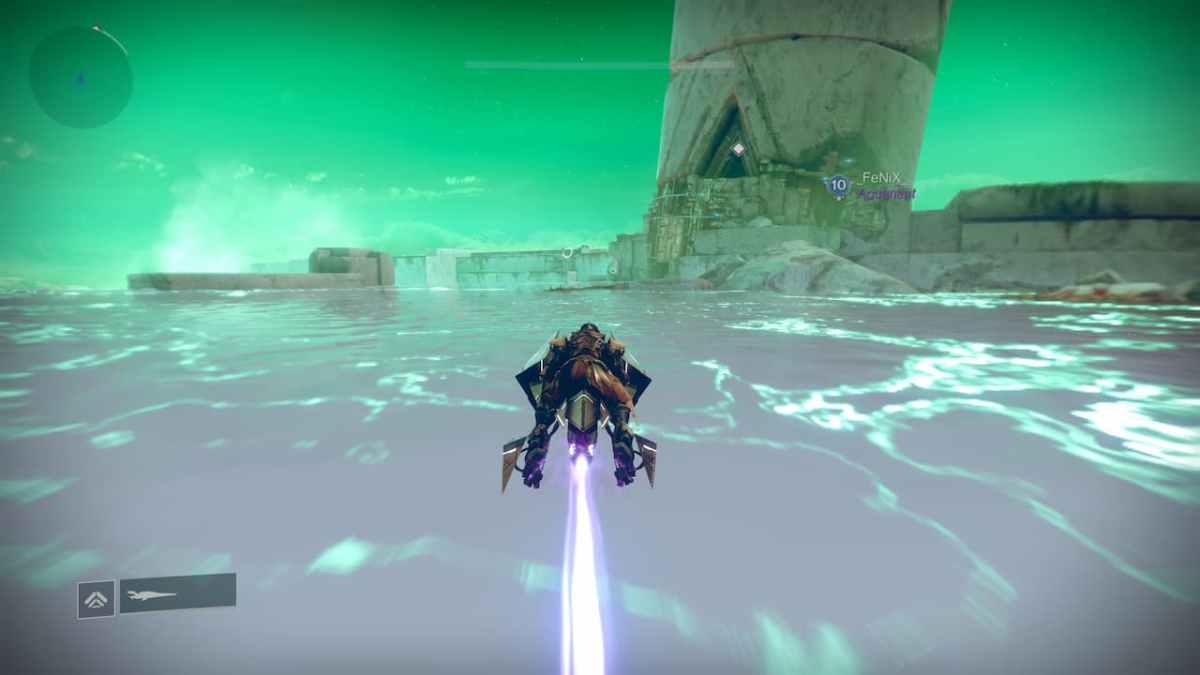
Fortunately, Failsafe has completed a lot of the job for us, and all of the samples are already situated. You will note the on-screen marker directing you towards the Nicely of Flame, so journey there utilizing your Sparrow, in any other case the entire Radiolaria sea will find yourself killing you within the course of.
-

Screenshot: PC Invasion -

Screenshot: PC Invasion
Head inside and leap down the massive effectively — don’t neglect to double leap until you wish to grow to be Guardian mash potatoes. Down the effectively, you’ll find a portal and the primary pattern you should gather. Achieve this after which undergo the portal.
-

Screenshot: PC Invasion -

Screenshot: PC Invasion
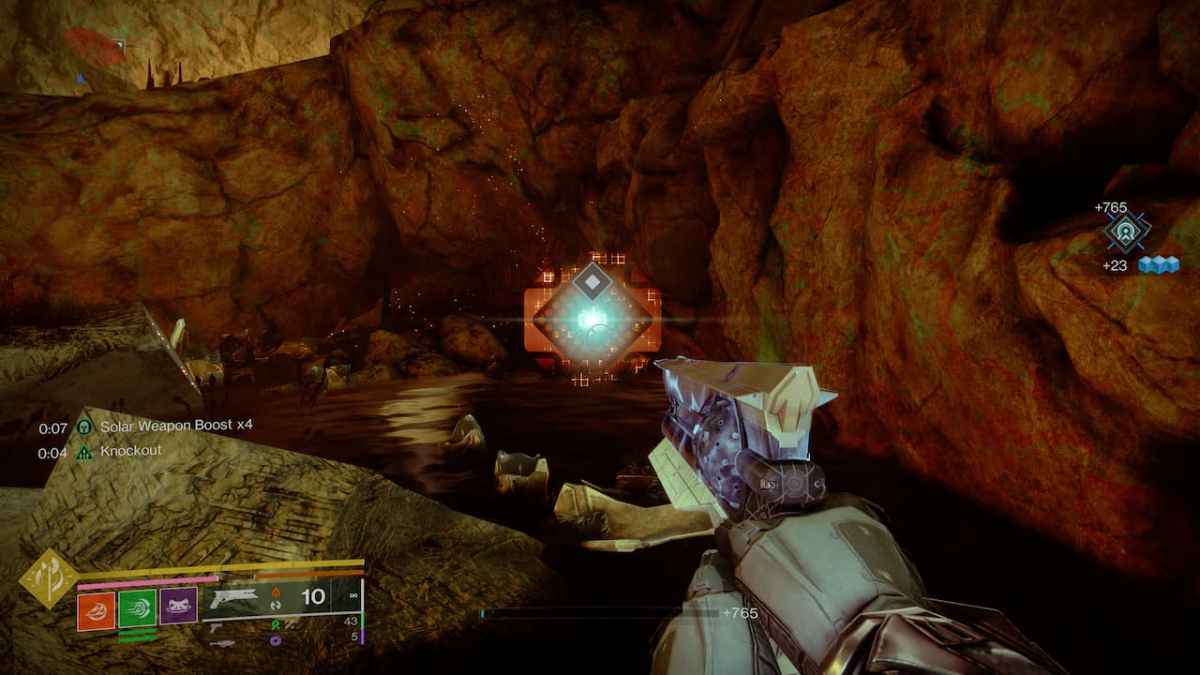
On the opposite facet of the portal, look all the way down to your left and you will notice the second pattern ready for you and a few Radiolaria beneath, so tread flippantly.
Comply with the tunnel and you’ll get to a room that appears prefer it was constructed particularly for a boss struggle, however that’s in all probability simply my creativeness, proper? Anyway, drop down and you’ll find the ultimate pattern.
-

Screenshot: PC Invasion -

Screenshot: PC Invasion
Step 3: Accumulate uncommon specimen in Future 2
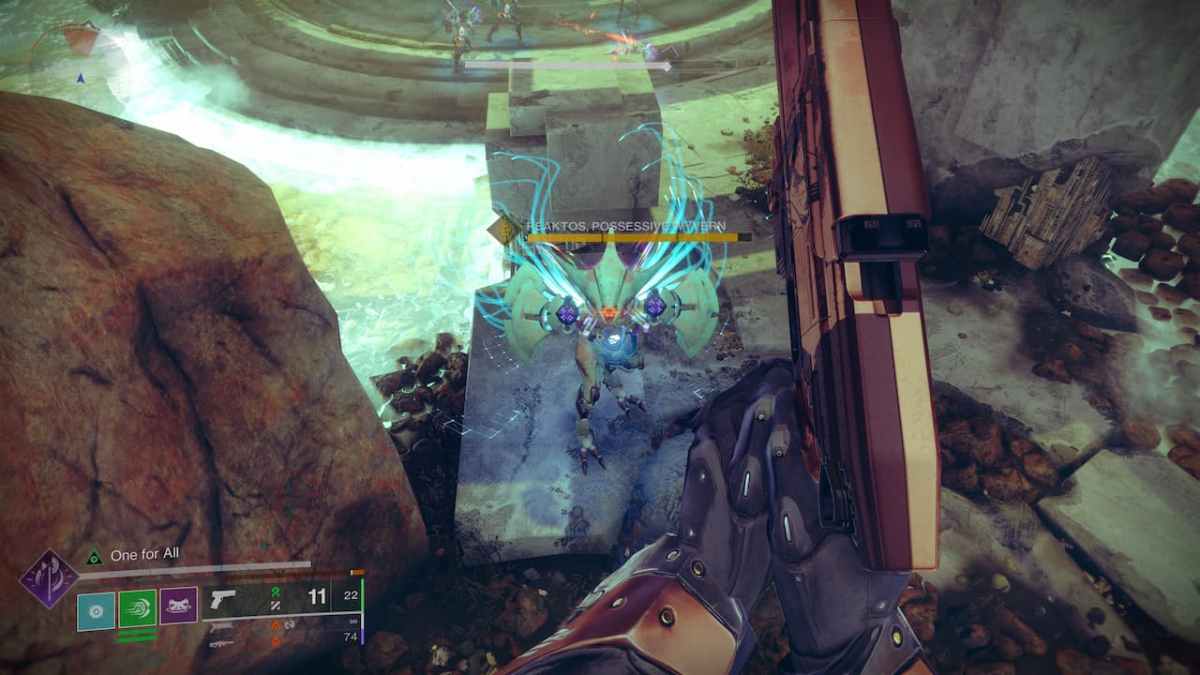
After gathering the third and ultimate pattern, the Vex will attempt to lure you and a Wyvern and a bunch of Vex will seem — I knew it wasn’t going to be really easy. The struggle itself is fairly simple, simply shoot at each Vex that seems and maintain the Wyvern with heavy weaponry.
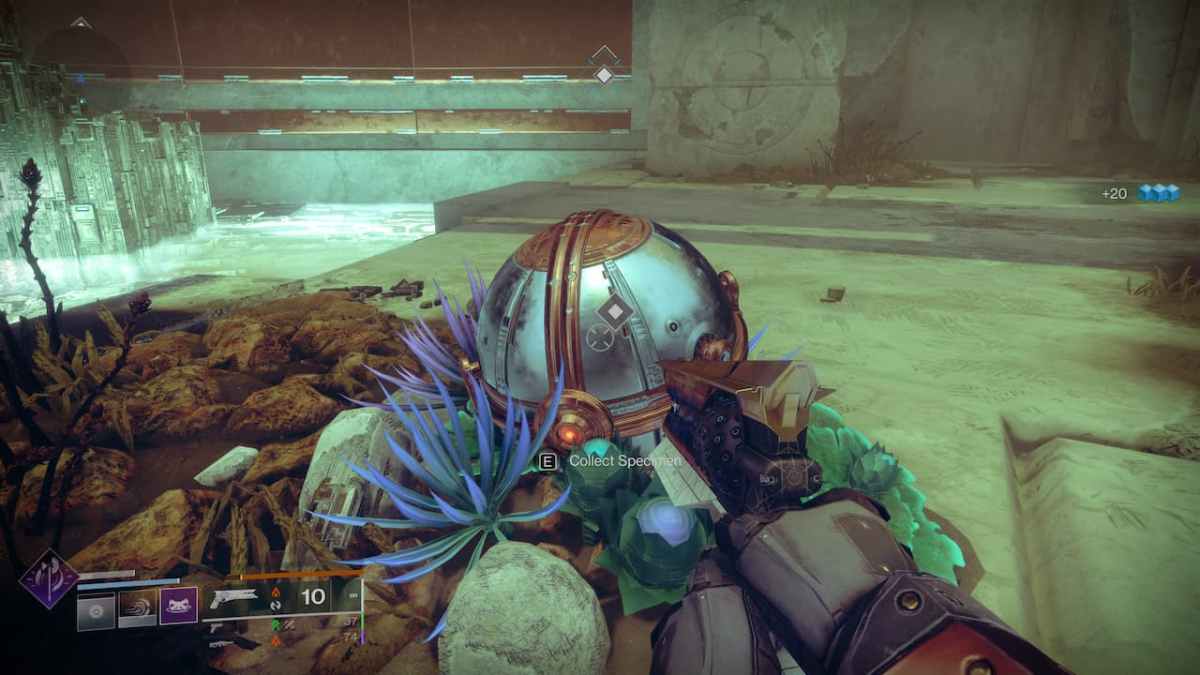
As soon as you might be completed with each single Vex, you will discover that the weird specimen is mendacity on the ground. Handy, I do know. Take it now and you should have the whole lot you should return to the H.E.L.M. and discuss to Failsafe.
Steps 4 & 5: Take and talk about the analysis specimen with Failsafe in Future 2

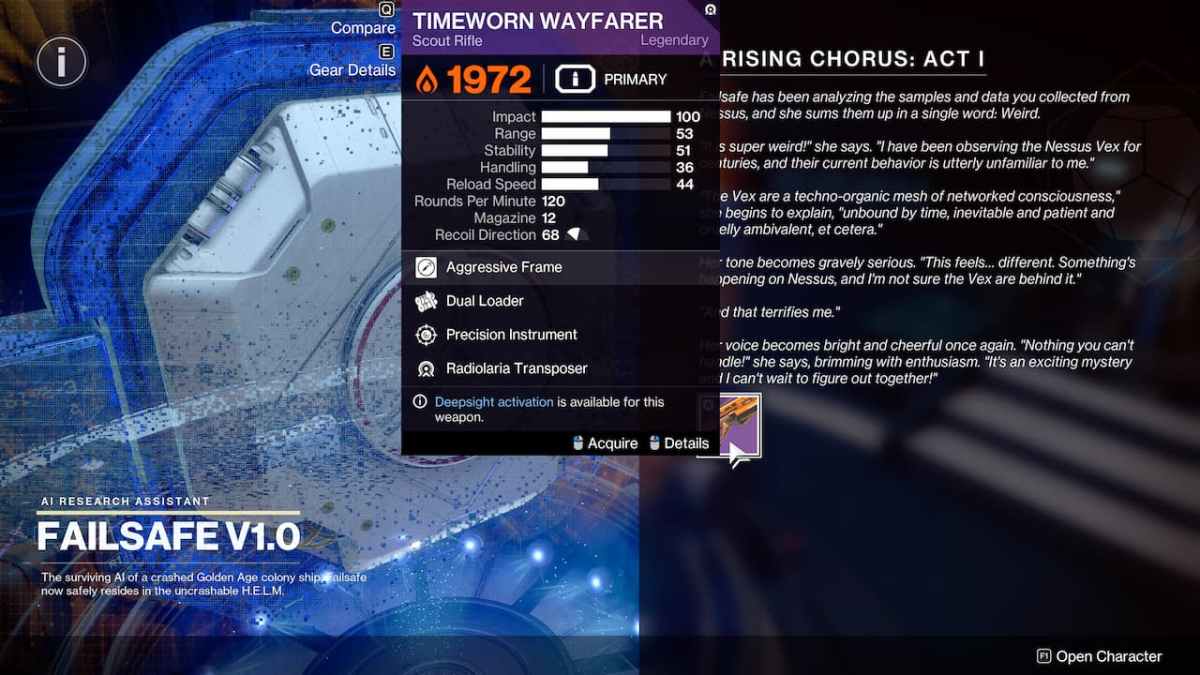
The one factor you should do is to report back to Failsafe by interacting along with her and she’s going to be aware that the id behind the Vex’s unusual habits is a thriller that we are going to in all probability wish to analysis extra. The specimen we collected will likely be named NES001 and can open up a brand new quest and have within the H.E.L.M.: the Radiolife Analysis Bay. She may also reward you with a Timeworm Wayfarer scout rifle after which go away you to be.
Week 2 – Steps 6 & 7: Proceed your Nessus analysis in Future 2

Step 6 within the A Rising Refrain quest is simply ready for Failsafe to conclude her knowledge evaluation, which is how Bungie time-gates its episodic and seasonal quests to suit a weekly schedule.
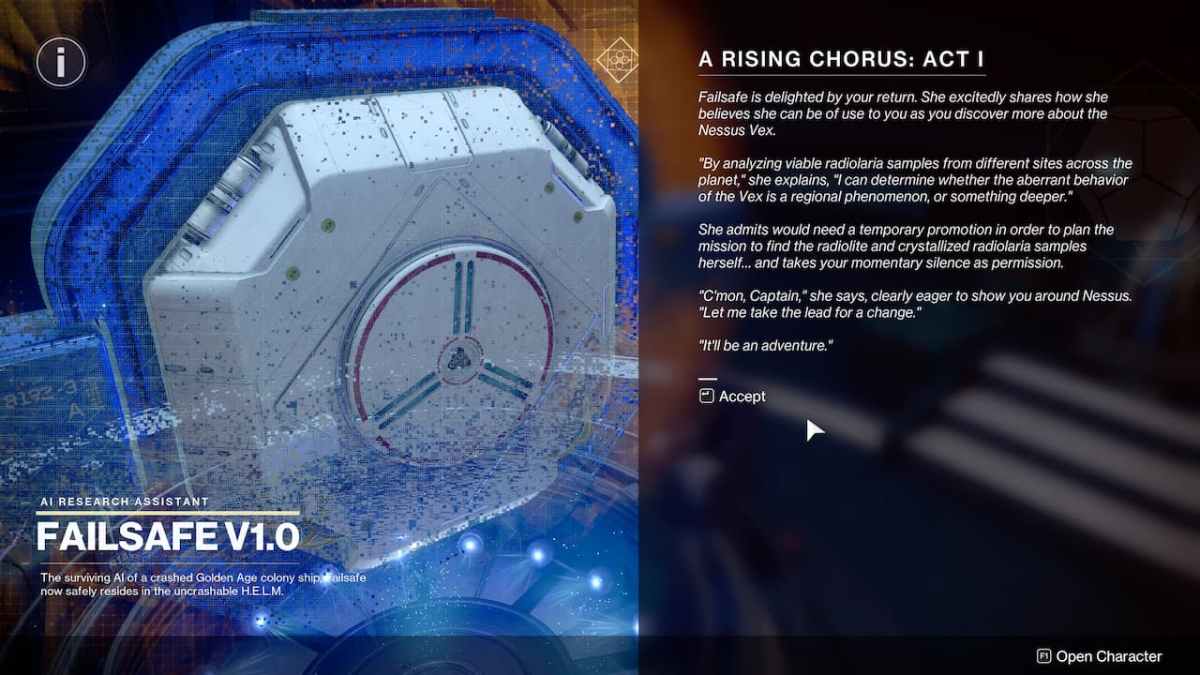
Step 7 is step one of the hunt’s second half and can have you report again to Failsafe, who will job you to get again to Nessus to check a brand new solution to decide the origin of the aberrant Vex habits — and he or she may also disgrace us passive aggressively for abandoning her for therefore lengthy.
Step 8: Deploy Failsafe’s proximity sensor in Exodus Black in Future 2
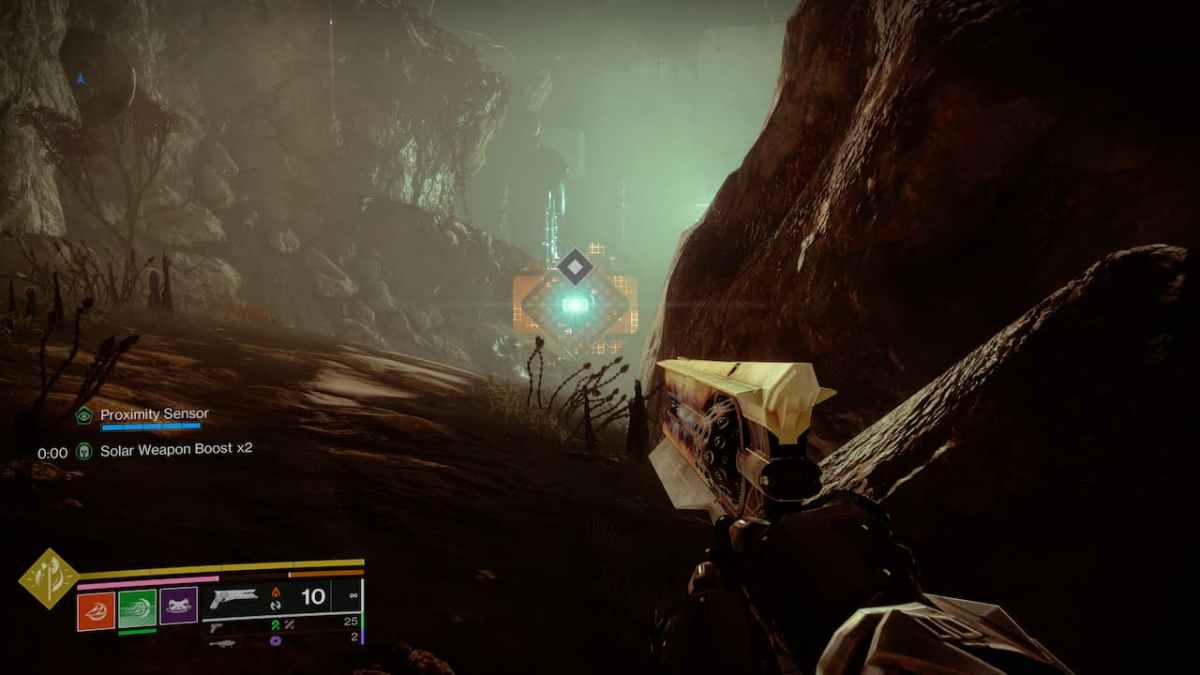
Head to Exodus Black in Nessus and you’ll uncover a brand new function in your HUD: the Proximity Sensor. Disregard the comically positioned beeps that Failsafe will repeat by way of the coms since all you should concentrate on is the Proximity Sensor bar which can refill the nearer you might be to the area spot you should activate Failsafe’s scan. It’s a mechanic that’s the equal of cold and hot. In Exodus Black, yow will discover it inside an empty engine stays.
Step 9: Deploy Failsafe’s proximity sensor in Glade of Echoes in Future 2
-

Screenshot: PC Invasion -

Screenshot: PC Invasion
Head to the Glade of Echoes space to the south and comply with your Proximity Sensor. You can find the scan spot behind some metallic plates within the space. Regardless of scanning with the aforementioned locations, the information scan won’t achieve success, so you’ll have to journey to a 3rd space to finish it.
Steps 10 & 11: Discover the optimum location to deploy scanners and gather specimen in Future 2
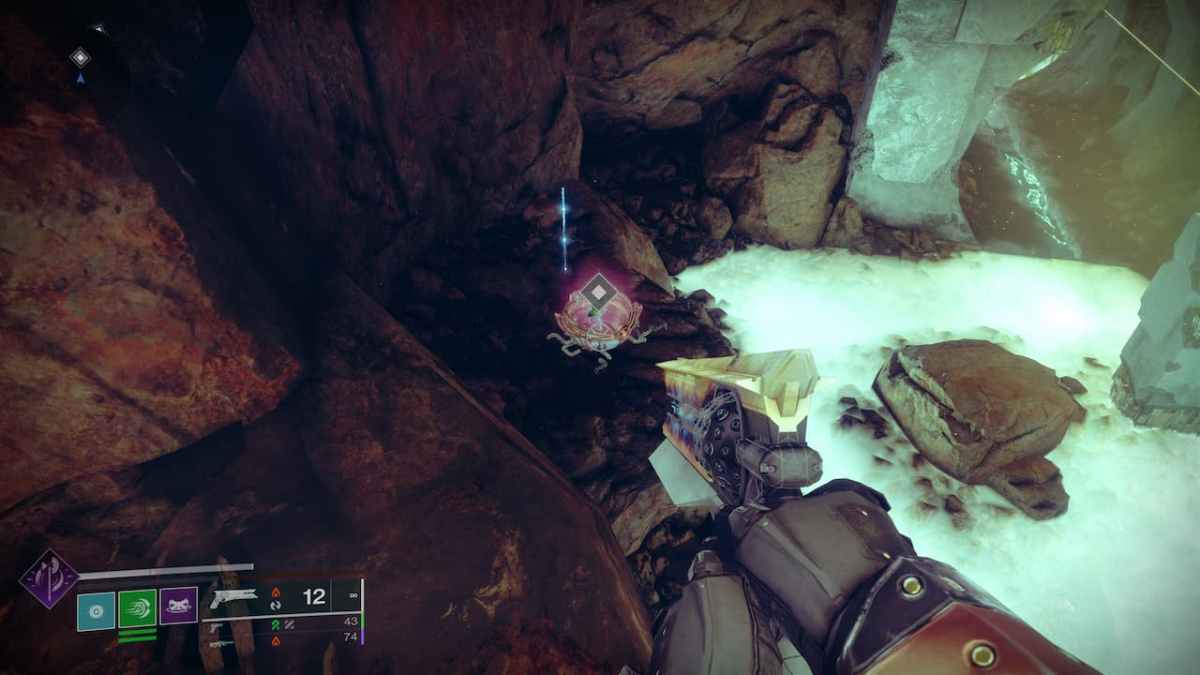
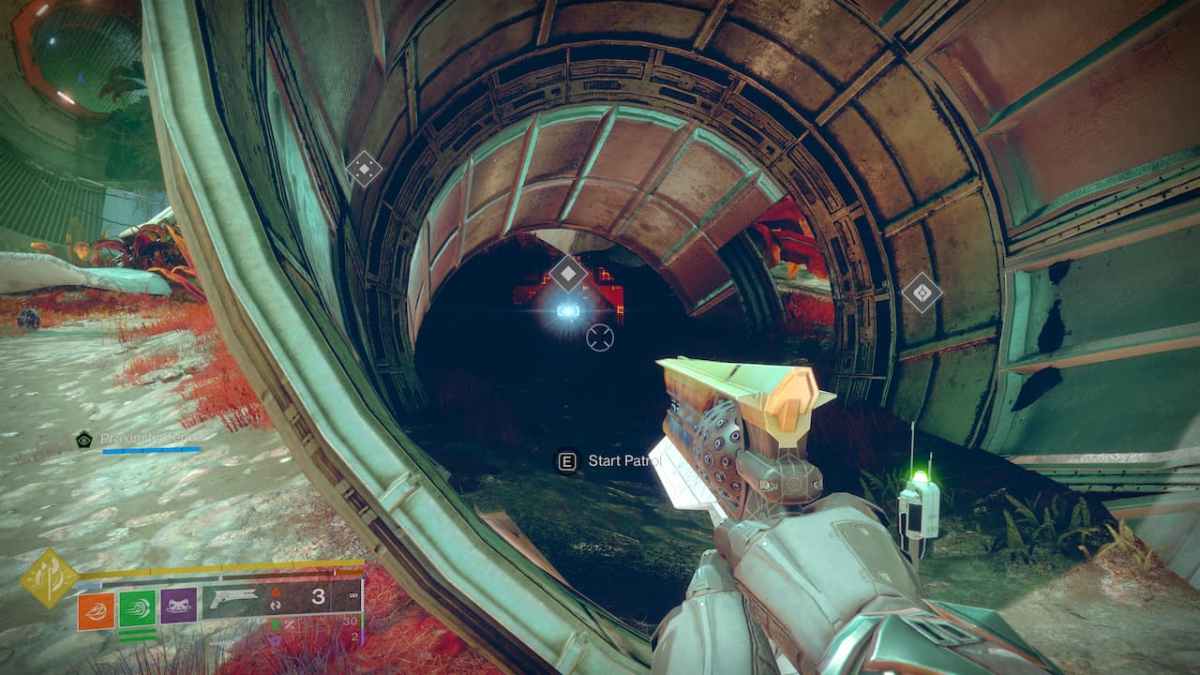
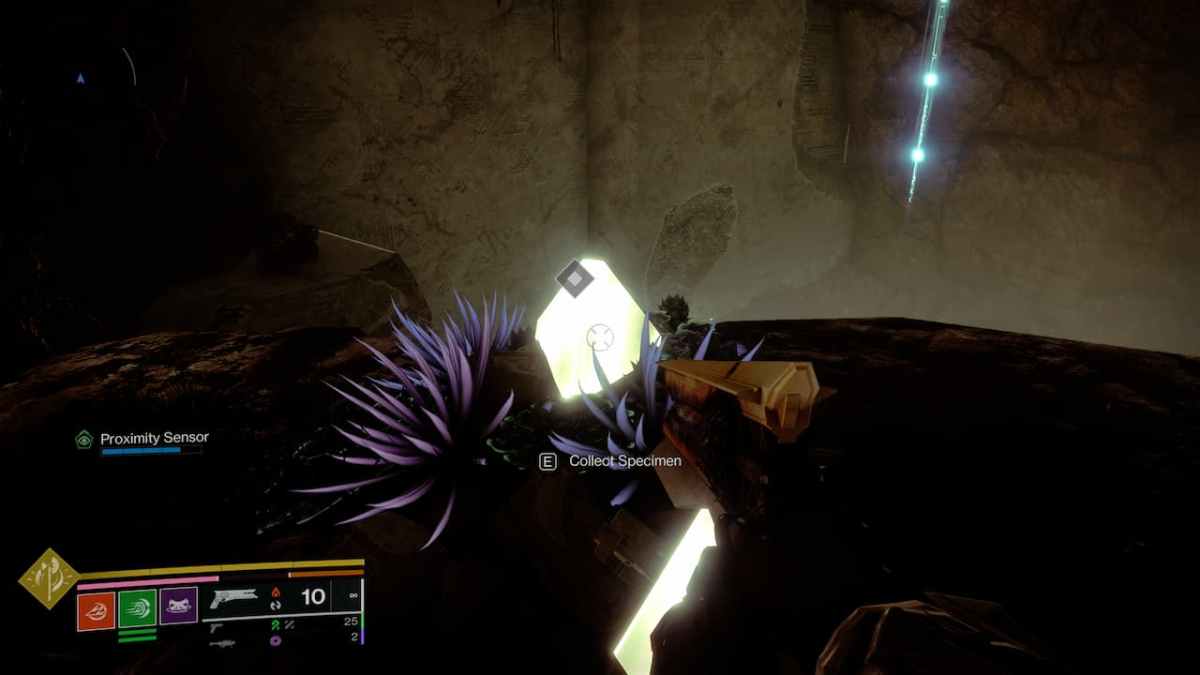
Journey to the Hallows space within the Arcadian Valley and head underground. You can find the optimum location simply beside a rock formation. Work together with it and you’ll be tasked with gathering a specimen, which is the subsequent step within the quest. Fortuitously, the specimen is simply above you on a rock platform, so gather it and you’ll be prepared for the subsequent step.
Step 12: Ship the newly collected specimen in Future 2
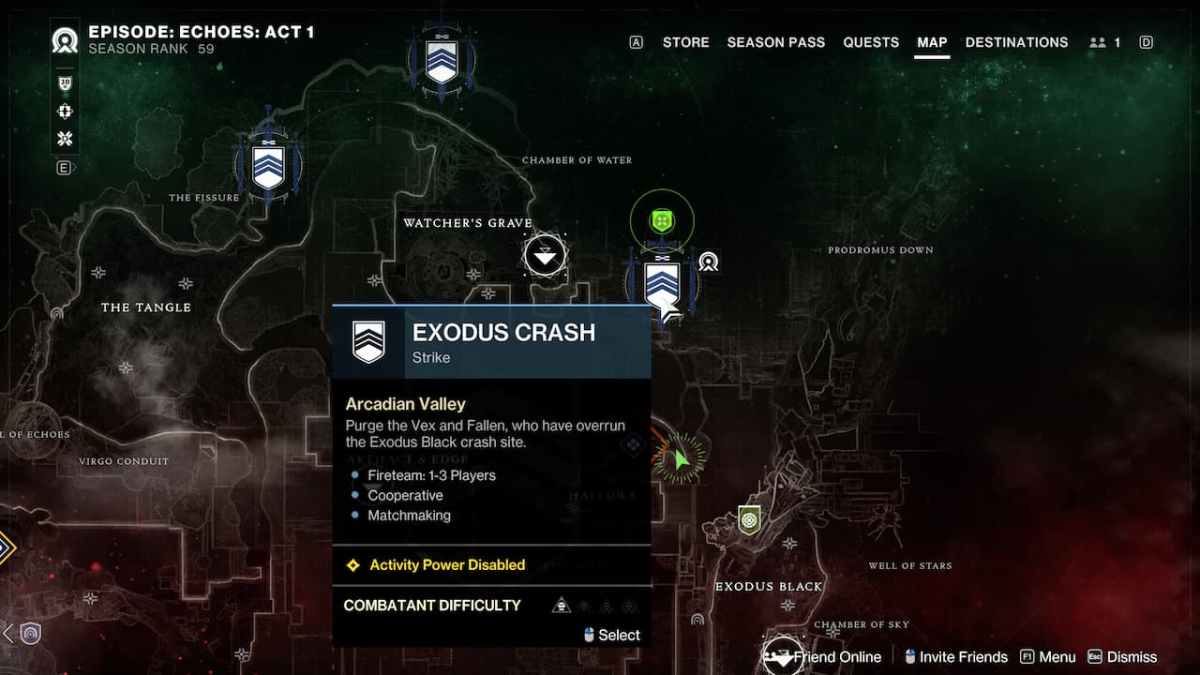
You’ll have to ship this specimen to the mainframe room whilst you full the Exodus Crash strike on Nessus. It’s a very easy strike the place you’ll have to examine the crash web site whereas clearing pathways, deactivating obstacles by overloading them, and combating a number of incoming Vex enemies.
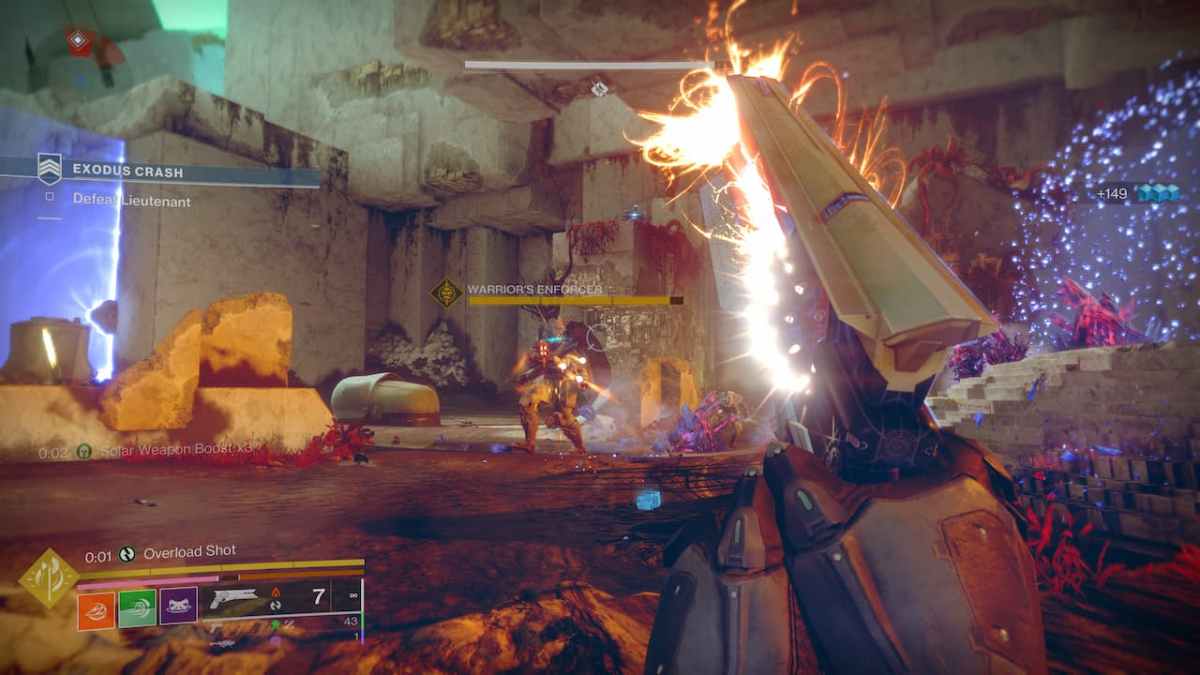
There are two particular elements of the Exodus Crash strike you need to take note of. One is disabling the barrier in an enclosed room the place you’ll need to protect your Ghost by remaining near it and defeating rounds of Fallen enemies in addition to overloading turbines out within the open by defeating highly effective Vex enemies and depositing the fees within the turbines.

Aside from that, the mission is fairly simple to comply with and also you don’t have to complete it in the event you don’t wish to. On the way in which to the Exodus Black’s Aft, you’ll go to a room in full darkness. You can find the placement to deposit the collected specimen proper on the entrance.
-

Screenshot: PC Invasion -

Screenshot: PC Invasion
Step 13: Full a run of Breach Executable and find NES002-C in Future 2
The subsequent step is finishing the Breach Executable exercise now we have beforehand accomplished through the A Acquainted Voice quest. In the event you haven’t accomplished the exercise, you’ll have to full two completely different rounds of targets like combating Vex, capturing zones, destroying Gestating Radiolaria Pods, etcetera, that are chosen at random. Then you’ll have to face a boss.
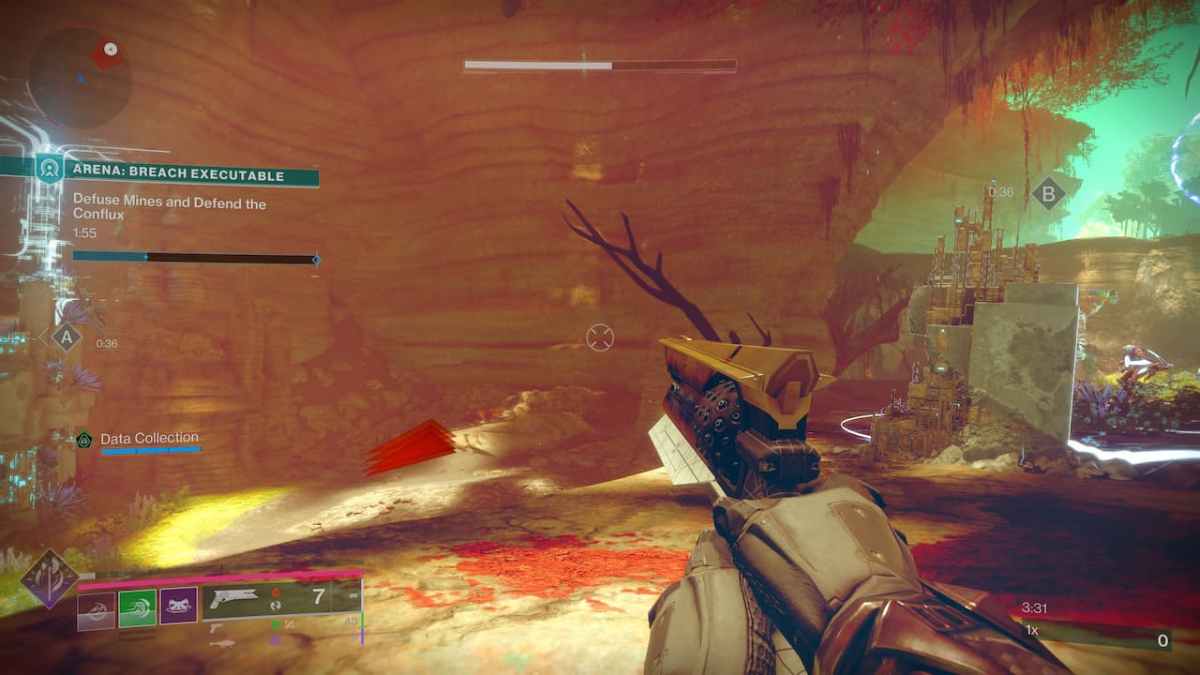
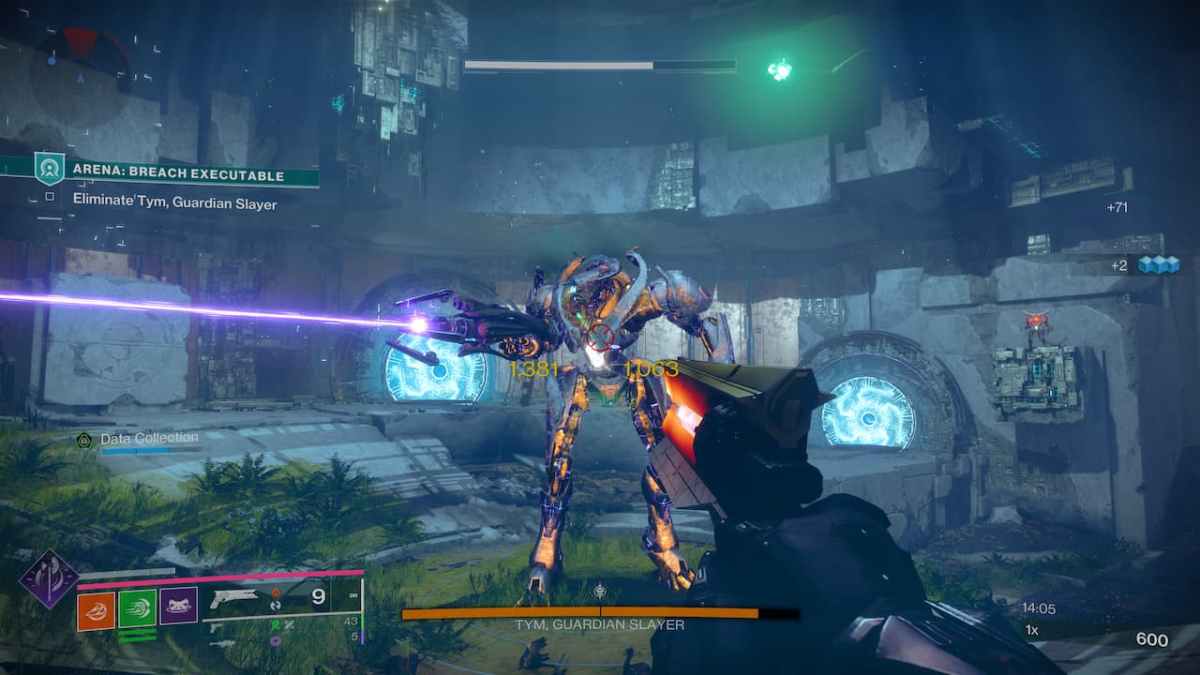
Echoes Week 2 incorporates a new spherical goal that revolves round hacking a Conflux, with Guardians defending Ghosts towards enemy hordes and defusing mines. Not solely that, however there’s a new Vex boss named Tym, Guardian Slayer, with the room that includes rotating pink lasers, simply to spice issues up. These insta-kill you, so be careful.
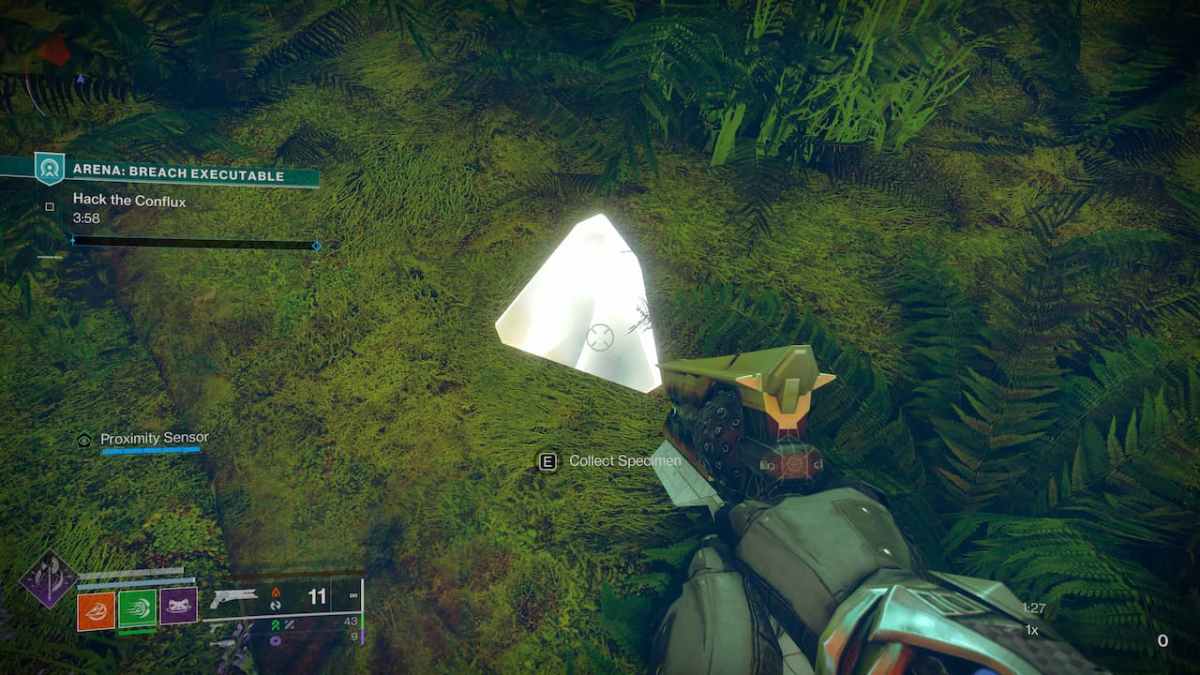
A very powerful factor on this step, aside from finishing the exercise itself, is to decide up the NES002-C specimen through the use of, as soon as once more, your Proximity Sensor. It may be picked up as quickly as you spawn within the exercise, so don’t progress by way of the mission with out choosing it up first.
Steps 14 & 15: Verify Failsafe’s preliminary evaluation and ship your analysis to Failsafe within the H.E.L.M. in Future 2
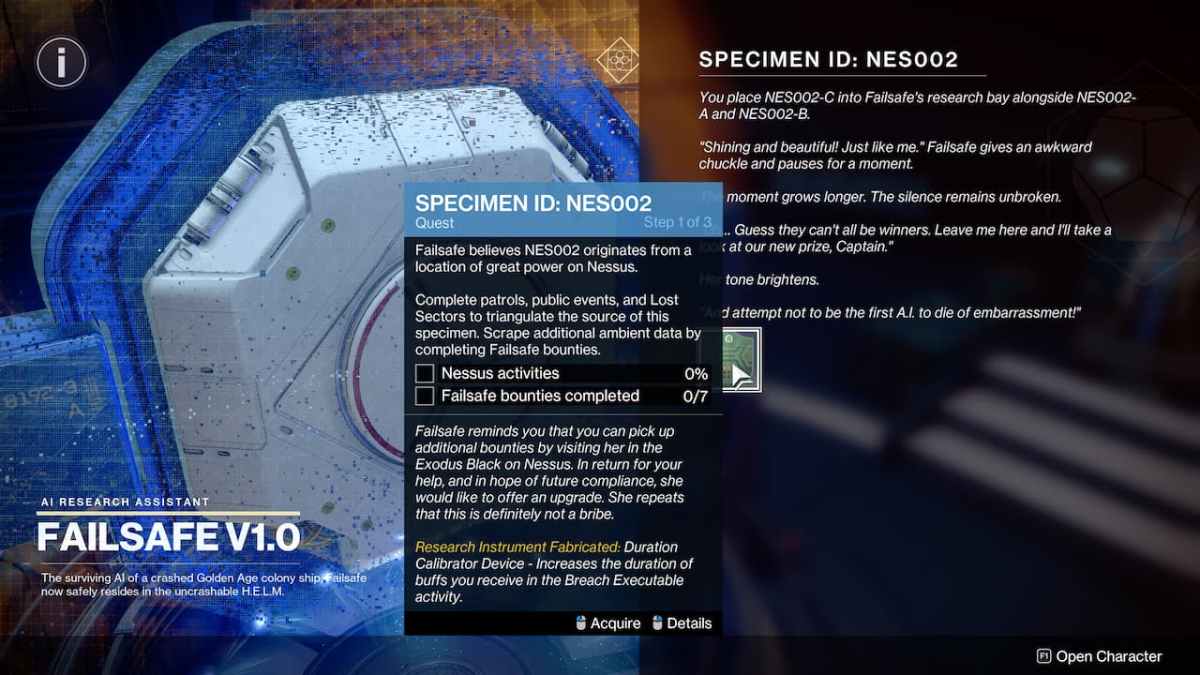
Steps 14 and 15 happen and are accomplished on the similar time within the H.E.L.M. Work together with Failsafe to ship the brand new knowledge after which Ikora will seem and offer you some perception about what transpired after the Witness was killed and the way it has influenced what occurred in Nessus. Then, Failsafe will reward you with the Veiled Risk auto rifle, concluding A Rising Refrain Act 1 Half 2.
-

Screenshot: PC Invasion -

Screenshot: PC Invasion
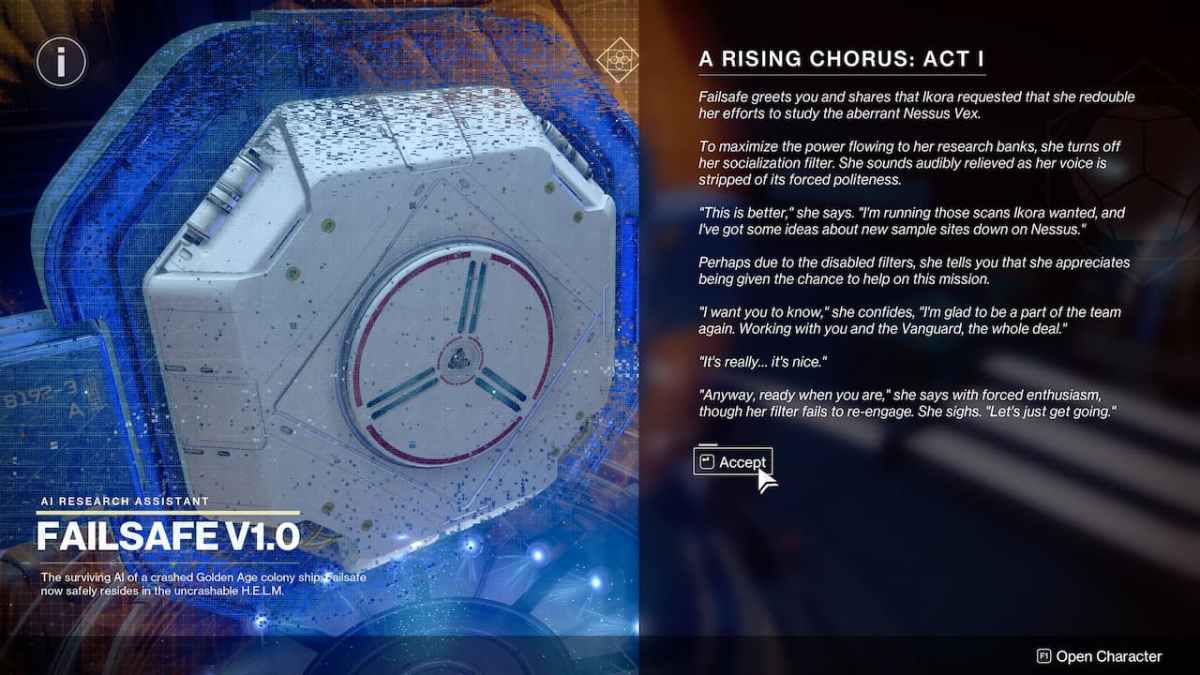
Week 3 – Steps 16 & 17: Failsafe is analyzing the information and obtain a mission briefing in Future 2
Step 16 was the second-week time gate step wherein you solely want to talk with Failsafe. Step 17, alternatively, can have you visiting H.E.L.M. as soon as once more and talking with Failsafe. She’s going to job you with gathering radiolaria samples throughout Nessus.
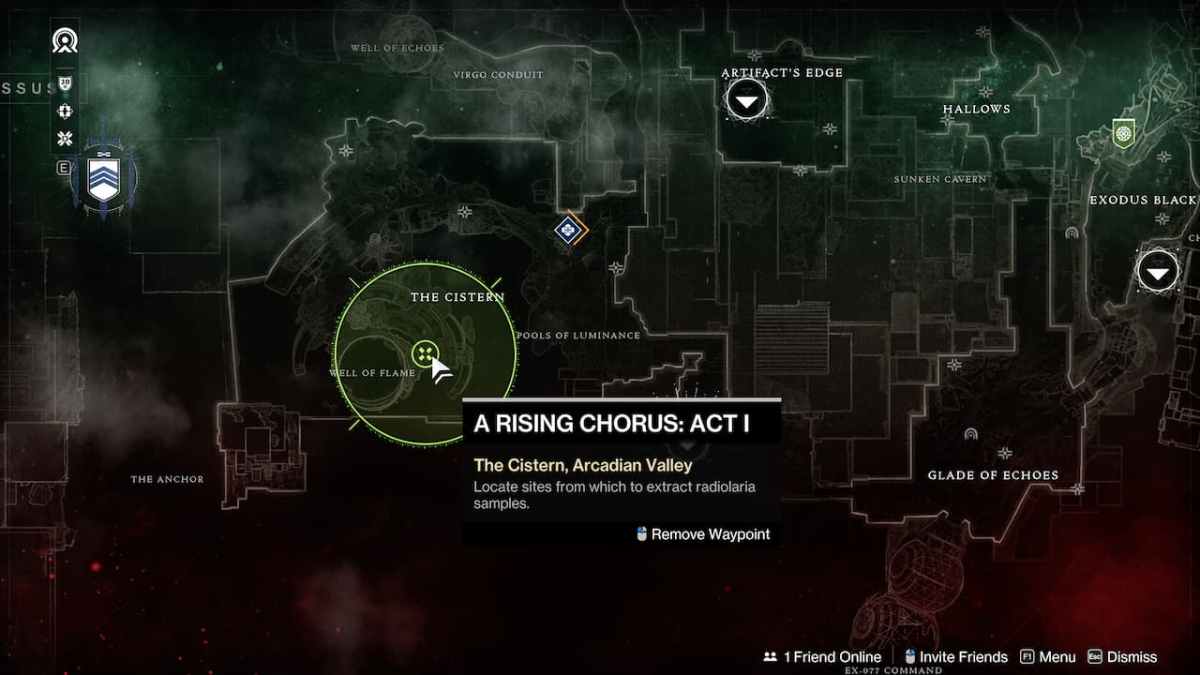
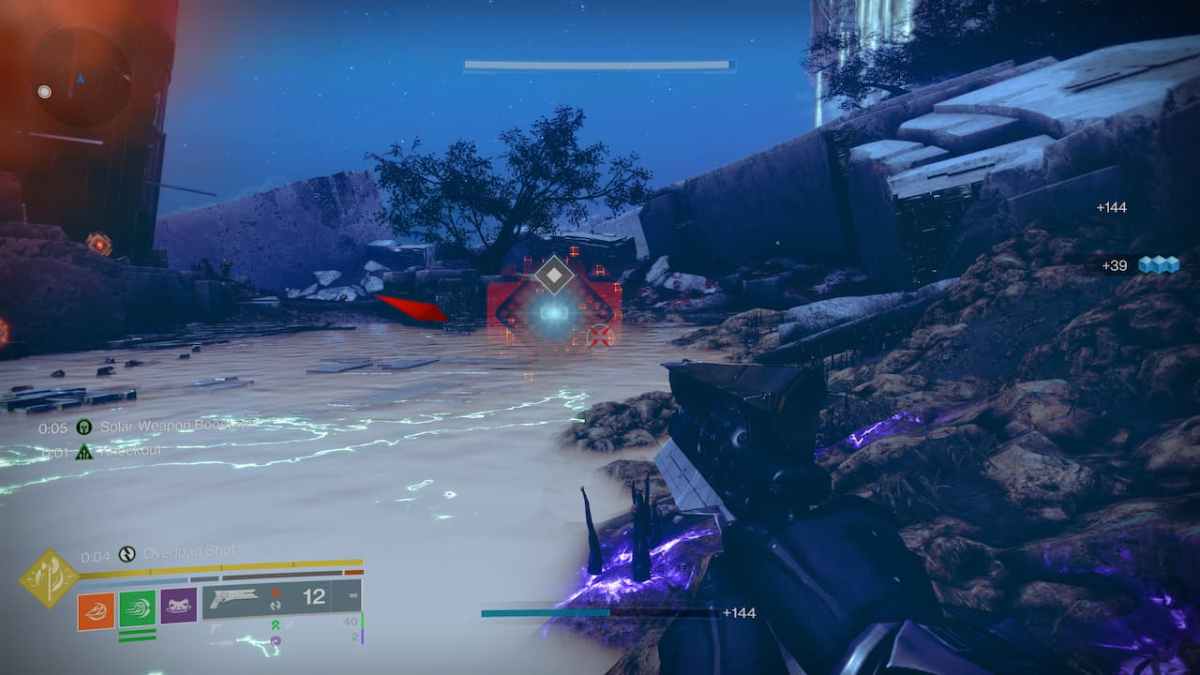
The primary web site you’ll go to to extract radiolaria samples is The Cistern area in Nessus. This zone is totally lined in radiolaria – also referred to as Vex milk – and a few Vex enemies will proceed to pop up throughout this step. The radiolaria samples are on prime of the Vex milk, so use terrain edges to seize them and save your self the harm earnings. Find them throughout the world utilizing your display screen marker.
-

Screenshot: PC Invasion -

Screenshot: PC Invasion
The second radiolaria pattern extraction web site is situated within the Chamber of Water, north of your earlier location. Head to the marker on the map and thru the portal you will notice. This time, you’ll encounter Vex and the radiolaria samples in a extra linear method, so defeat them and decide them up, respectively.
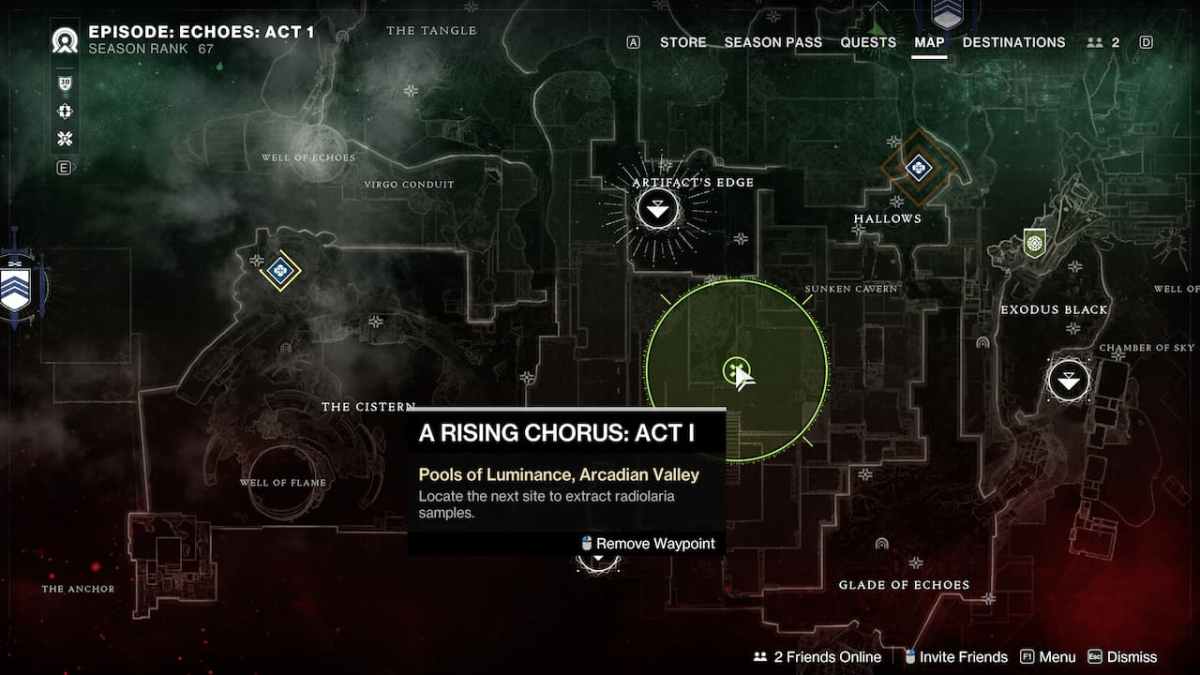
The final web site is on the Swimming pools of Luminance. Comply with your on-screen market to find them since they’re fairly tough to get to by yourself. You’ll ultimately get to a room stuffed with Vex milk and Vex enemies. Defeat all of them and gather the radiolaria samples to have the whole lot you want, for now.
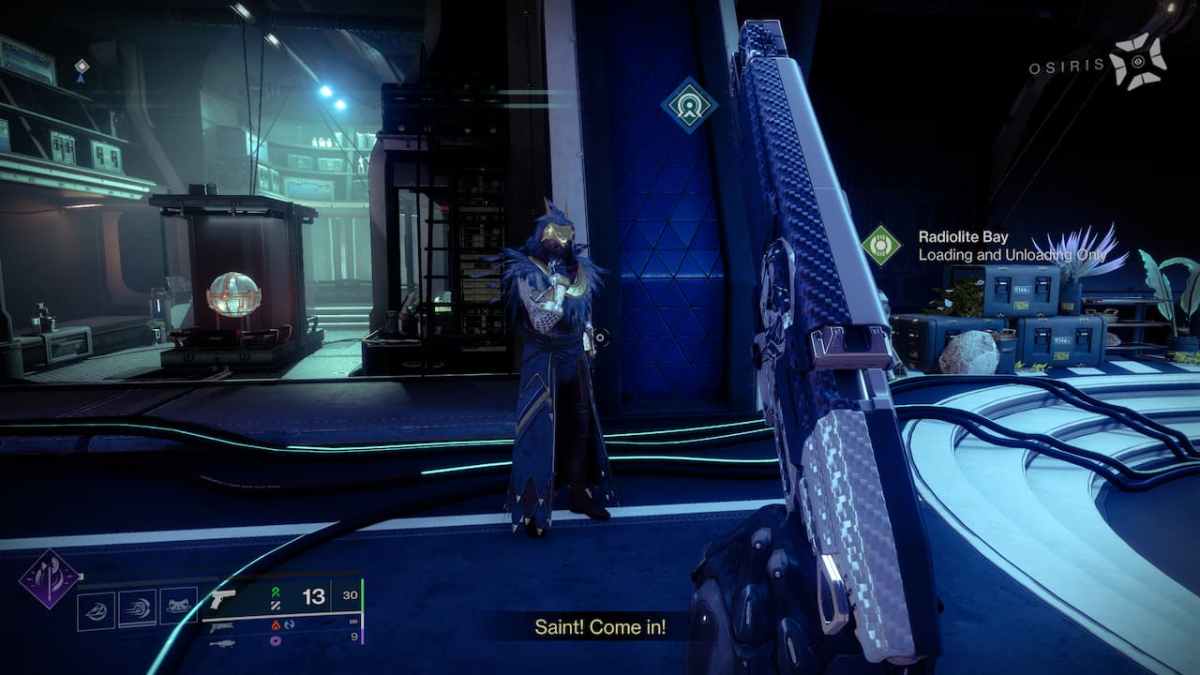
Step 21: Reply Osiris’s name for help in Future 2
You’ll, nonetheless, obtain a misery name from Osiris. Head to H.E.L.M. and you’ll find out that he has been unsuccessfully attempting to speak with Saint-14. That being mentioned, Failsafe is ready to find him close to the unique crash web site we visited in Nessus. Whereas Saint-14 doesn’t reply, we’re tasked to discover him by finishing Mission: Mesmerize.
Step 21: Monitor down Satin-14 beneath the crust of Nessus in Future 2

Begin the mission and you’ll find your self in an open space with quite a lot of Vex and Lydrion, Symphonic Thoughts. Interact the entire Vex within the space with some additional warning with the a number of Cyclops which might be situated in vantage factors and may kill you with out breaking a sweat.
-

Screenshot: PC Invasion -

Screenshot: PC Invasion
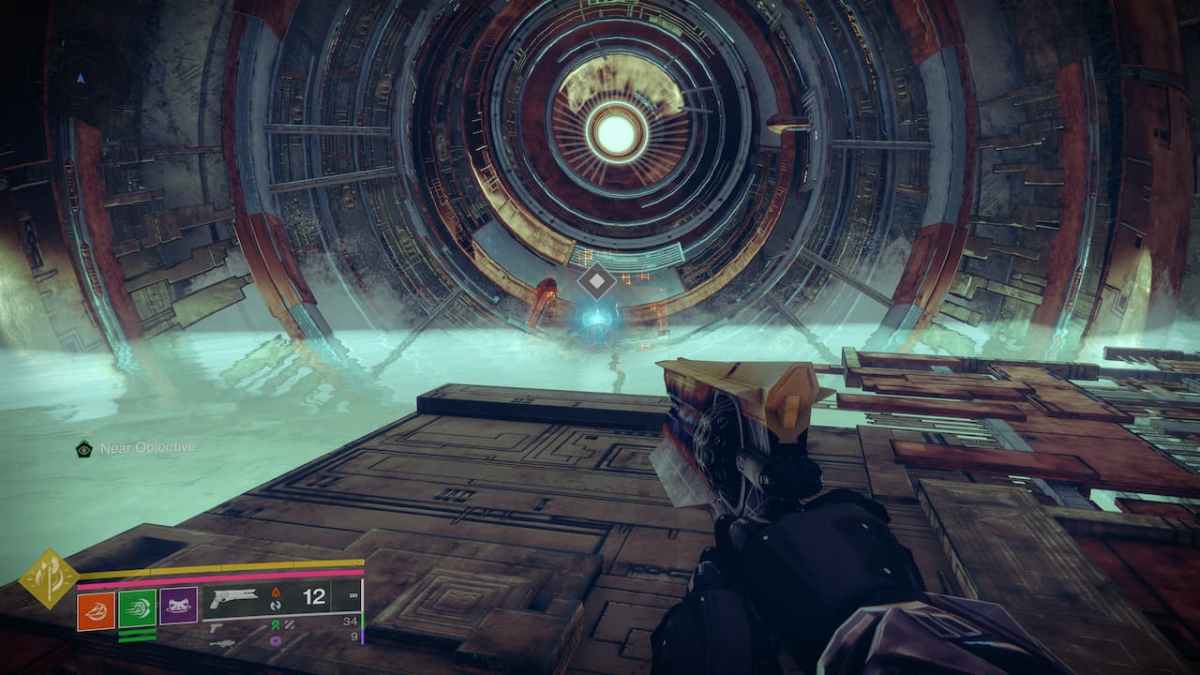
When you half Lydrion’s well being, you’ll now must journey contained in the Nicely of Flame. Get inside, fall down the effectively, and stroll by way of the portal.
-

Screenshot: PC Invasion -

Screenshot: PC Invasion -

Screenshot: PC Invasion
This is without doubt one of the first locations we visited throughout this quest – extra particularly, throughout Step 2 – however now you’ll have to defeat extra Vex than earlier than. Furthermore, you’ll have to add three knowledge units by standing on prime of the marked pink areas on the map. Hold standing on prime of them and defeat any incoming Vex so to add the information efficiently.
-

Screenshot: PC Invasion -

Screenshot: PC Invasion
Our buddy and boss Lydrion will seem as soon as once more and now it’s time to defeat him for good. When you drop his well being sufficient, he’ll acquire an invulnerable defend. To disable it, defeat the three Cyclops that can seem throughout the map. When you do, shoot Lydrion with the whole lot you’ve bought and he’ll ultimately fall.
-

Screenshot: PC Invasion -

Screenshot: PC Invasion
As soon as Lydrion dies, the central space ground will open. Drop down and you’ll find Saint-14 inside an power defend, surrounded by Vex. It seems that an entity has been influencing him and controlling his ideas, just like the current odd Vex habits.
-

Screenshot: PC Invasion -

Screenshot: PC Invasion -

Screenshot: PC Invasion
Step 22: Meet with the rescued Saint-14 in Future 2
Head again to H.E.L.M. and you’ll find Saint-14, Osiris, and Ikora. The latter two will likely be listening and consoling Saint-14 who reveals that the identify of the entity is the Conductor. Failsafe acknowledges that the Conductor can manipulate beings based mostly on Radiolaria, just like the Vex and Exo.
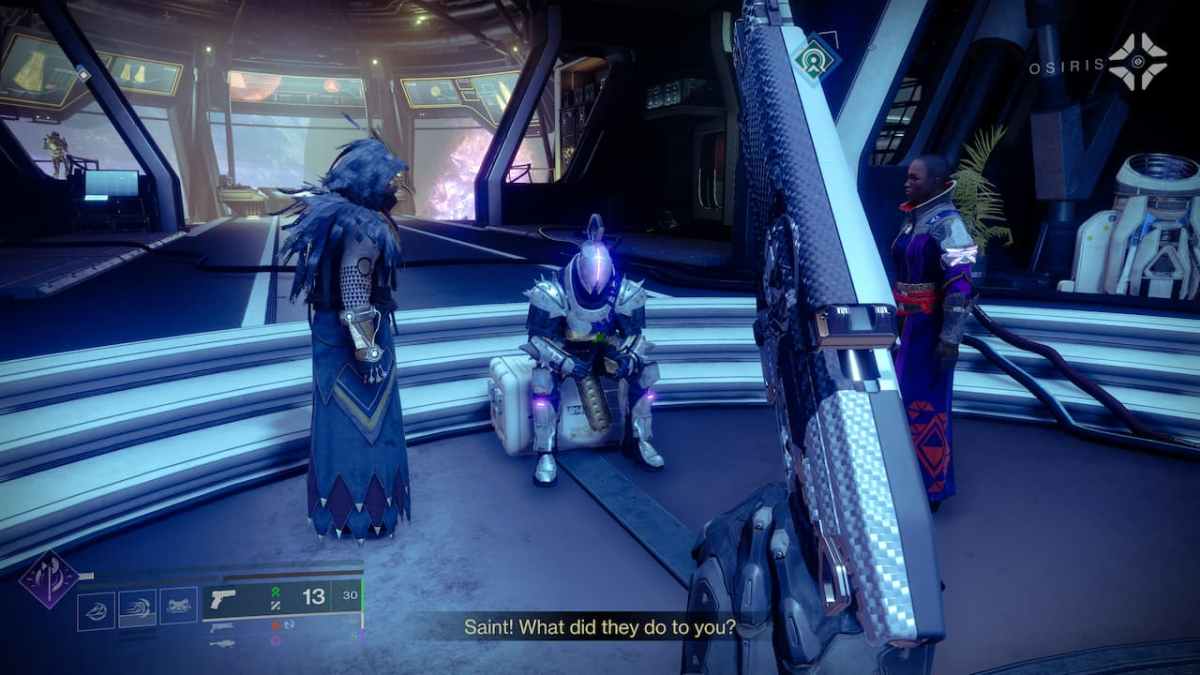
Saint-14 additionally suffers from an id disaster as he learns he’s simply “a replica of a replica”, however everybody assures him he’s very liked and accepted, particularly Osiris. Failsafe will now deactivate her compassion filter and will likely be decided to put an finish to the Conductor given the way it was in a position to have an effect on Saint-14 to the purpose he was almost damaged.
Steps 24 & 25: Focus on Saint-14’s ordeal with Failsafe & Echoes Act 1 full in Future 2
-

Screenshot: PC Invasion -

Screenshot: PC Invasion
And that’s it for A Rising Refrain Act 1. Just like the earlier time gated steps, Act 2 will start when Episode Echoes Act 2 releases on July 16. In the intervening time, you should definitely try find out how to begin and full the Enigma Protocol mission. Imagine me, it may possibly get overly difficult.
